Delete Points From Point Cloud
Edit your point cloud for a cleaner look or to post process a smaller area in the ROCK Marketplace
- In the 3D "Lidar" view on the ROCK Cloud select the pencil tool on the right hand toolbar.

- Select the "Plus" button in the top right to start a selection box.
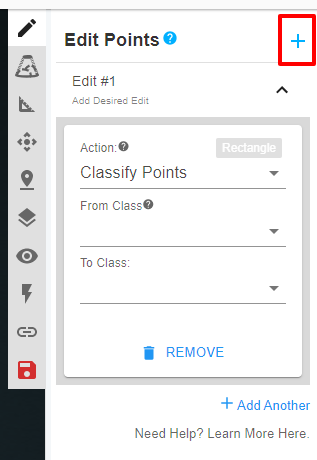
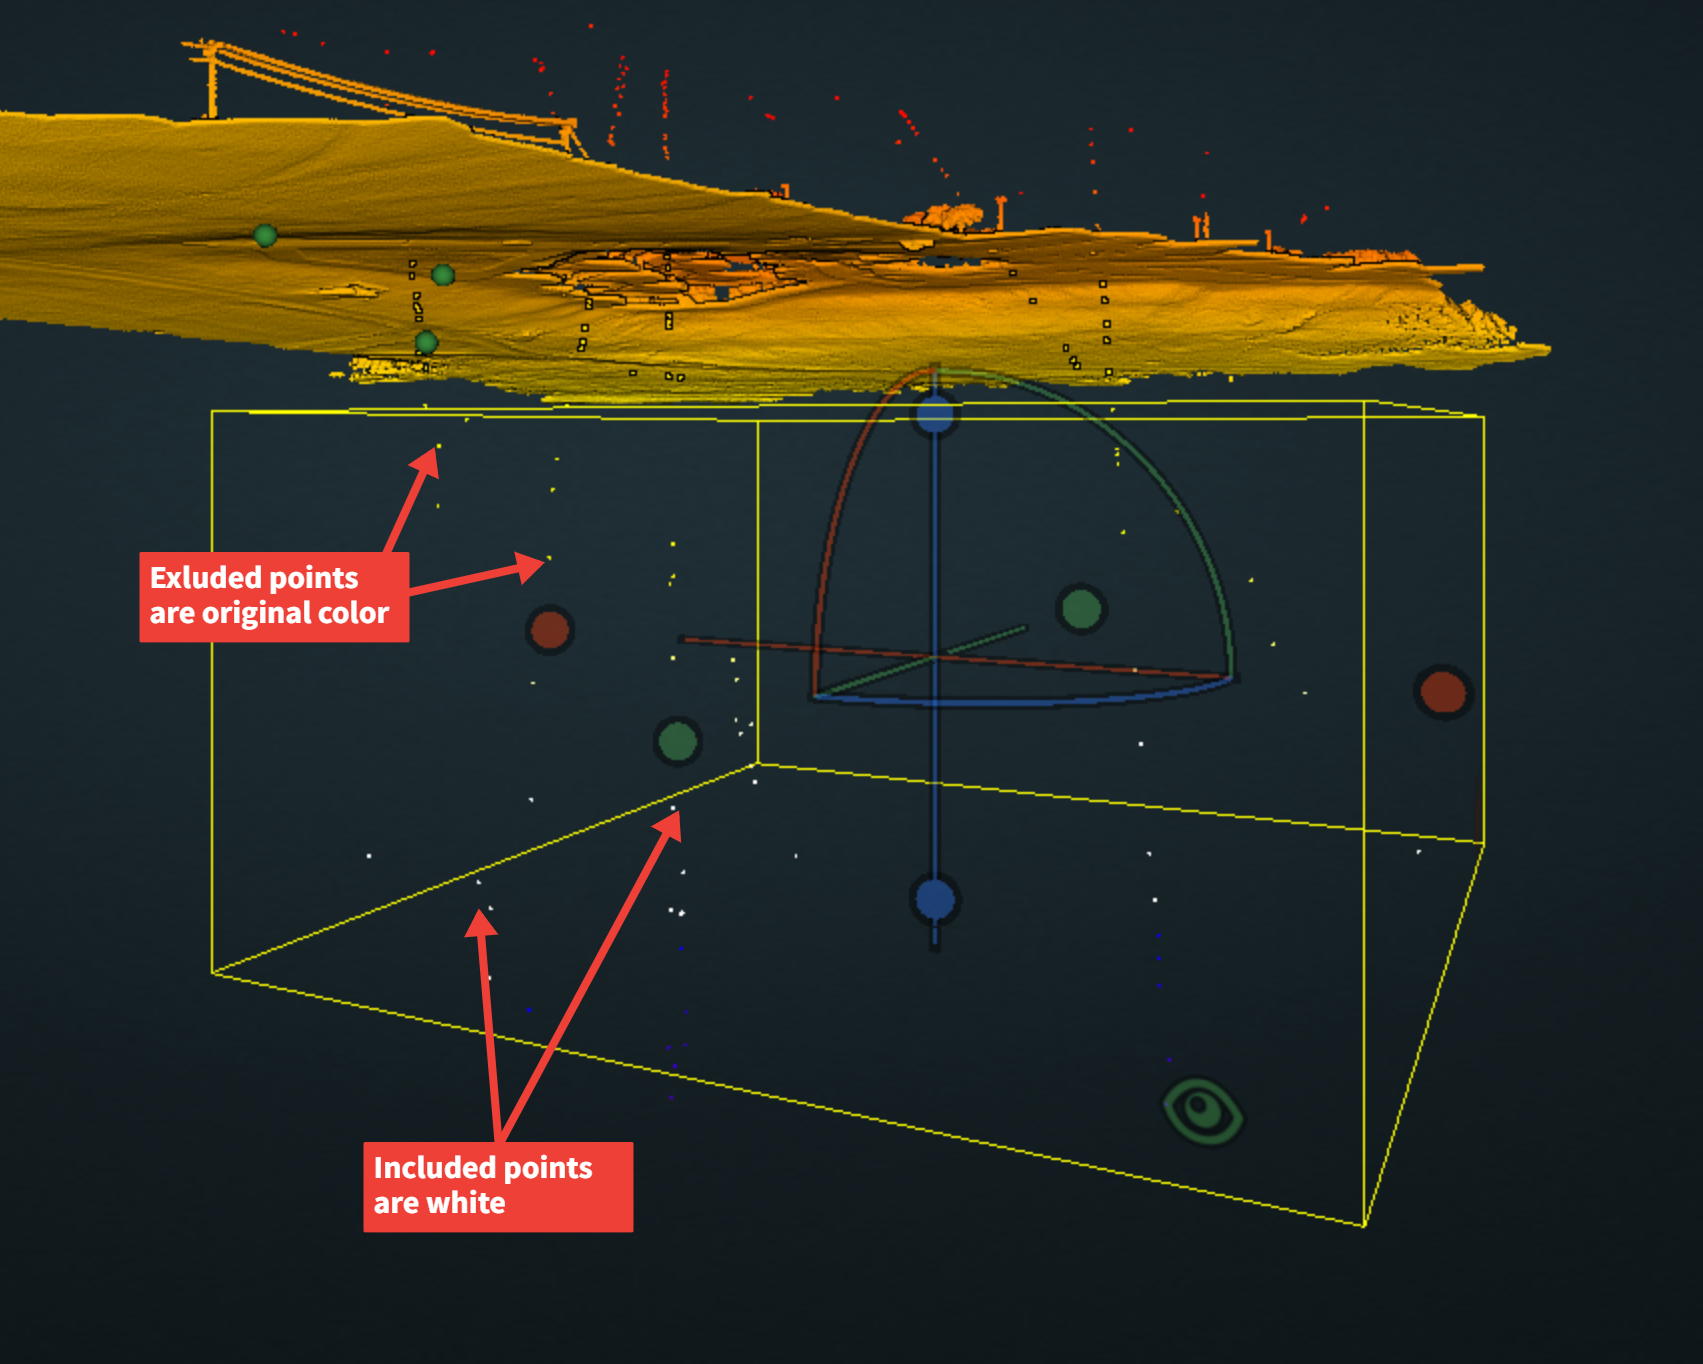
- Adjust the location, size, and rotation of your bounding box with the colored spheres, lines, and arcs to envelope ONLY the points you want to classify in this run.
- Whatever points are in the box will be available to delete. You'll see the effected points re-colored as white in the below screenshot.
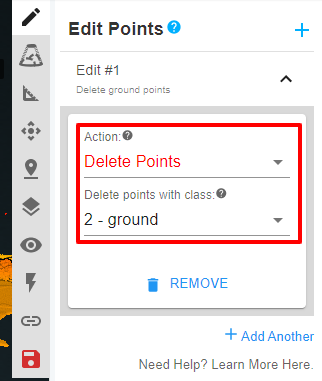
- Select the action "delete points" in the first dropdown.
- You can delete specific points within your bounding box based on classification. For instance, select the class "ground" to delete only ground classified points within your selected area. If you haven't run an classification you will need to select "all" or "never classified"
- Repeat this process to delete all the points you'd like removed from the dataset.
- Click the red "save" icon.
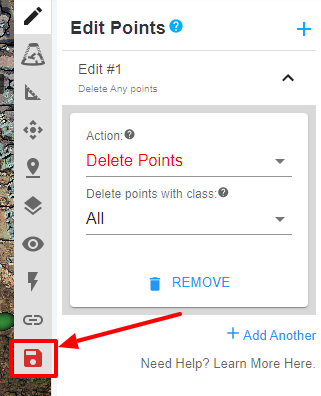
- In the popup window either select save (to continue with point deletion) or cancel (to edit or stop point deletion process).
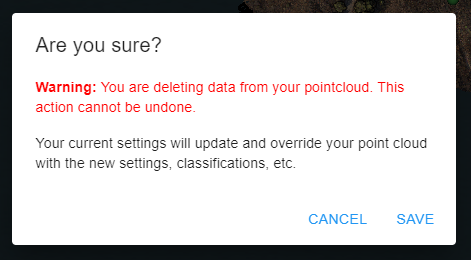
Make sure you are satisfied with your points you select for deleting BEFORE you click save in the last step above. We CANNOT undo this action if you delete points you didn't intend to delete.
![ROCK-robotic-community-logo.png]](https://learn.rockrobotic.com/hs-fs/hubfs/ROCK-robotic-community-logo.png?width=250&height=50&name=ROCK-robotic-community-logo.png)