Choosing Aerial Targets
We recommend aerial targets with the following characteristics for best visibility in your post-processing software:
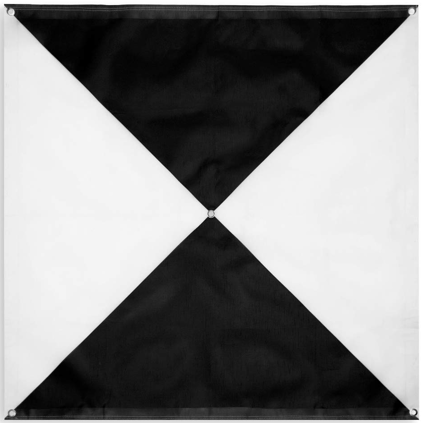
- High contrasting color - black & white is ROCK's go to.
- Large enough to see from the height you are flying your mission at.
- 4x4 Checkerboard or Chevron pattern.
- Avoid using retro-reflective materials and landing pads that will create reflection points around your aerial target that are difficult to align to.
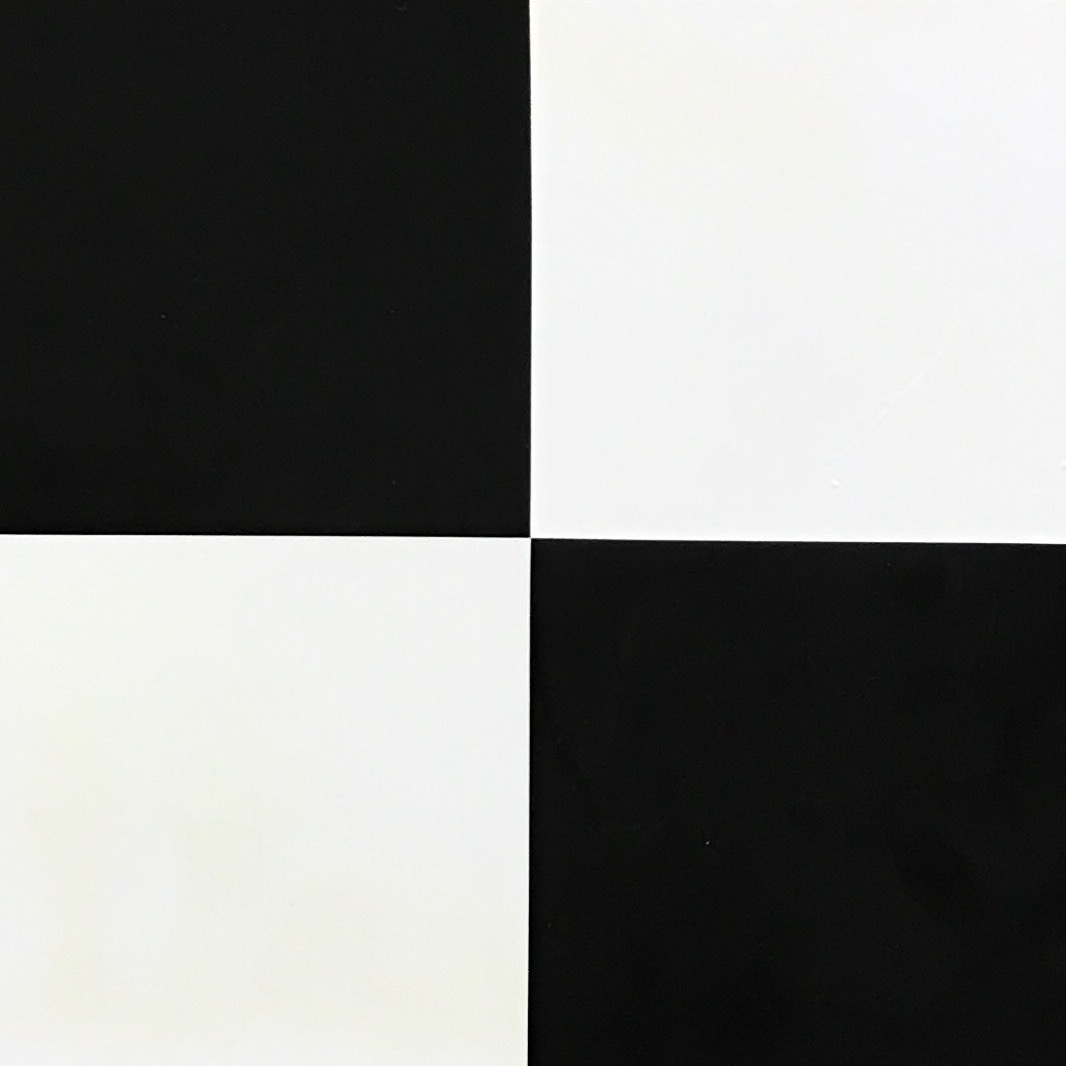
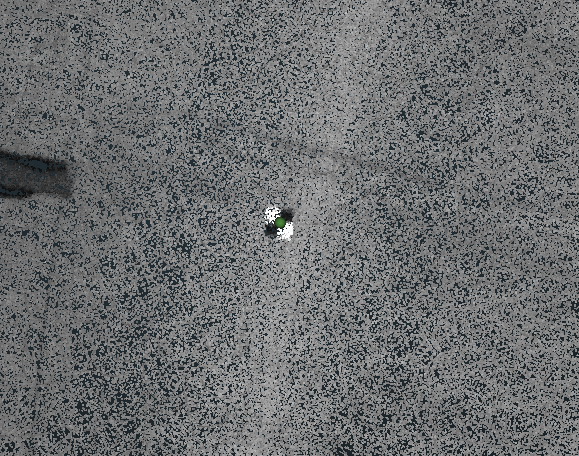
ROCK Cloud RGB View of aerial target from above:
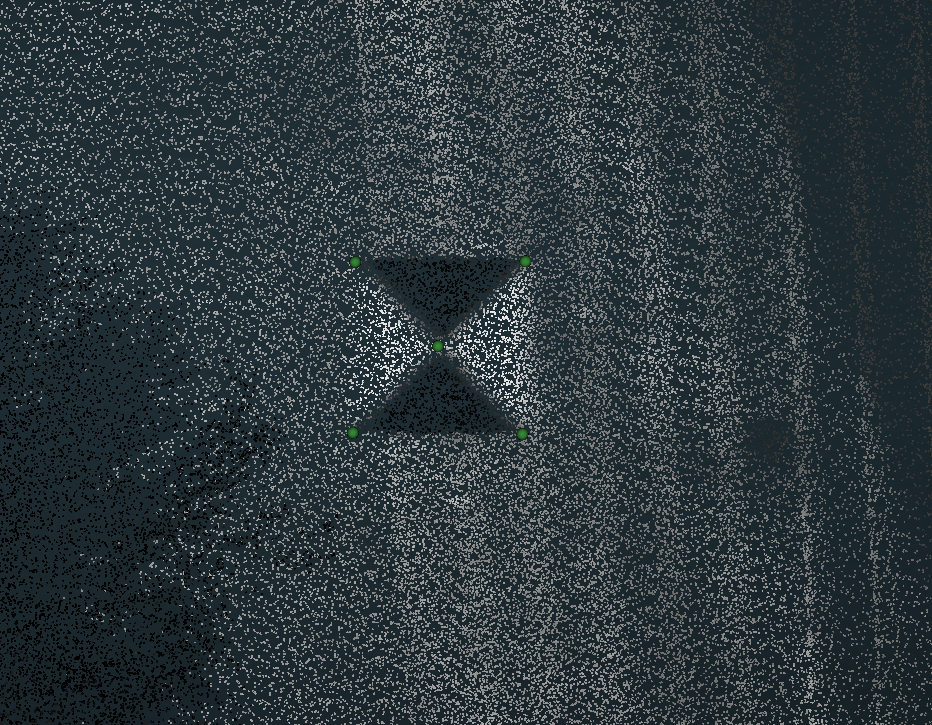
ROCK Cloud Intensity View of aerial target from above (you should always use Intensity View for best GCP to aerial target alignment):
Placing Aerial Targets
We recommend the following tips for placing your aerial targets for easy alignment of GCPs to your aerial target in post-processing:
- Choose a flat, open area where targets can be clearly viewed from the sky.
- Ensure your target is placed where it can lay flat against the ground .
- AVOID placing targets on elevated objects like back of curbs, fire hydrants, water meters, etc. This can skew your accuracy and final deliverables.
Flying Aerial Targets
We recommend the following tips for flying your aerial targets for easy alignment of GCPs to your aerial target in post-processing.
- Make a manual pass above your aerial target/GCP at a lower altitude and slower speed than your typical flight settings (assess for safety in your flight, but an example could be 30 m (<100 ft) and 2 m/s (<4.5 mph)). A good time to fly over your target is at the beginning or end of your mission or between battery hot swaps on an aerial target close to your landing zone.
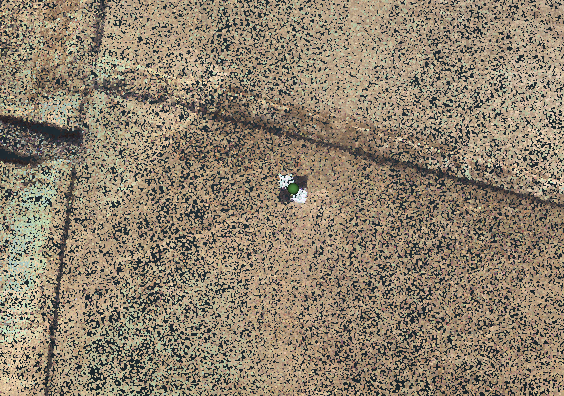
See the screenshots below for an example of the the difference between a high altitude GCP flight and a low altitude pass.
High Altitude (ROCK Cloud Intensity View)
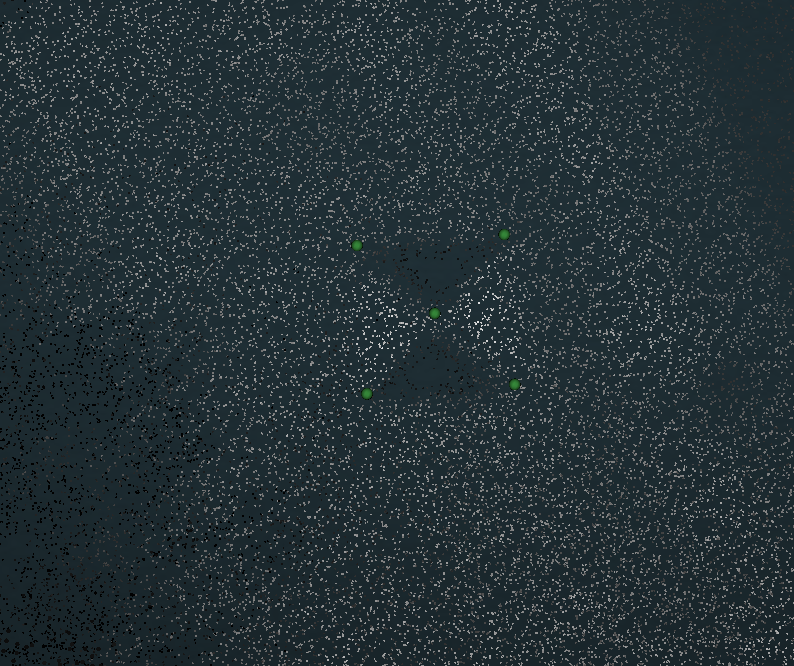
Low Altitude (ROCK Cloud Intensity View)