Learn how to use the Auto Align GCP tool and save your dataset.
Upload and Define Projections
Start by upload LiDAR data and correctly define the uploaded CRS and then re-project into the desired projection
When uploading from the R2A your data will be in WGS84 / UTM zone projection. Then the re-projected projection and the Ground Control points should be the same.
Add Ground Control Points

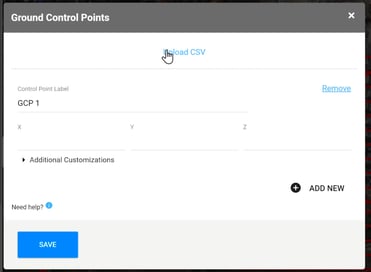
- Select Add Ground Control Points
- Either enter the GCP one at a time or use the .CSV uploader for bulk adding GCP. Please note, if uploading a CSV file, you cannot have commas included in the XYZ information (ex. 123456.789 ft is okay, but 123,456.789 is not).
Navigate to a GCP in your Dataset
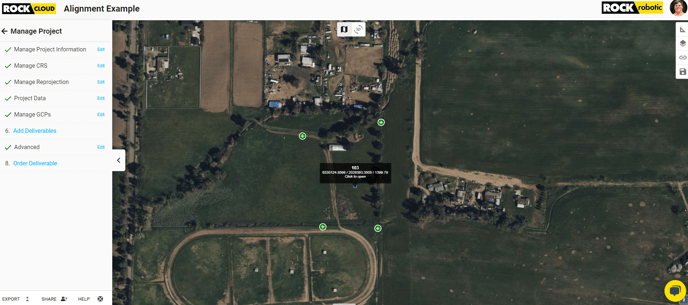
After you have uploaded the GCPs, they will appear on the map. You can click any GCP and navigate to this location by clicking on the 3D icon in the pop-up.
Option 1: Point Alignment from GCP Point to Cloud Point
You can use the quick tools -> Auto Align GCP then select the point in your LiDAR data that you wish to align the GCP to.
WARNING!!!! When aligning GCP - ALWAYS use Intensity Gradient or Intensity View. You want to align the GCP to the target that is visible in the Intensity NOT RGB. I made this video for looking cool on LinkedIn and not how I actually do it. Just make sure you look for your targets or whatever object you used in the Intensity gradient or Intesity view. ~Harrison
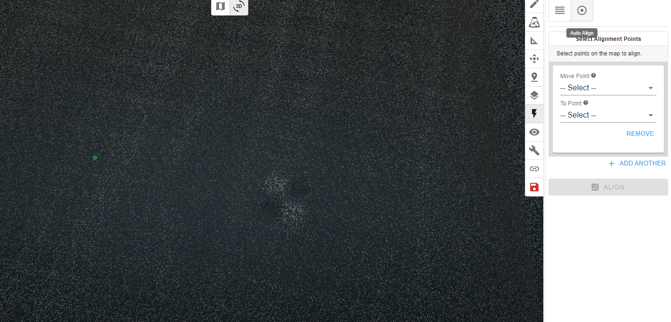
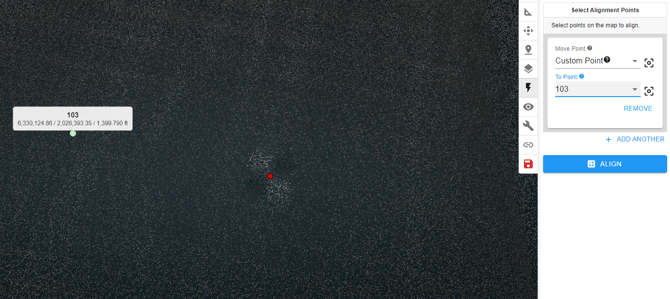

After you have selected the point on the LiDAR data you can use the drop down and select the corresponding GCP to align to that point. Once you have selected the correct GCP, click Align.
It will appear like only the green GCP points moved, but actually the dataset moved to the GCP.
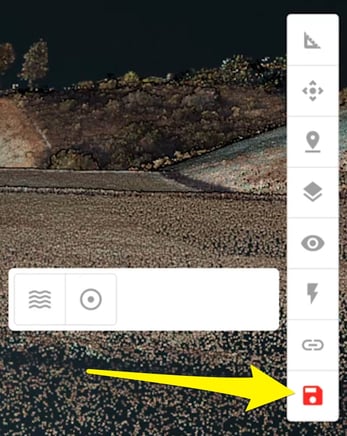
Finally, click the RED save icon to confirm the dataset movement.
Option 2: Nudge your Point Cloud to align with the GCP
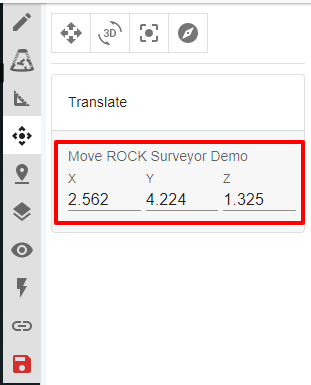
Navigate to the Data Translation tool and "nudge" your data in X,Y,Z to align with the GCP.
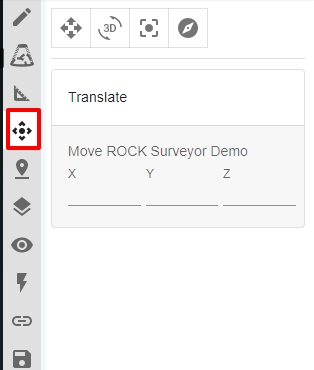
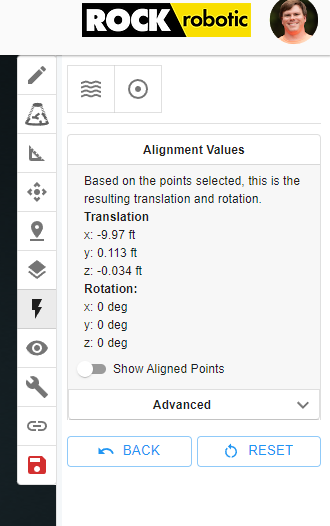
As you make adjustments to the translation values your cloud should move to align with the GCP. You will see this reflected in the translate values.
Finally, click the RED save icon to confirm the dataset movement.