Learn the step-by-step to fly the ROCK R2A on the DJI M210 drone.
Introduction
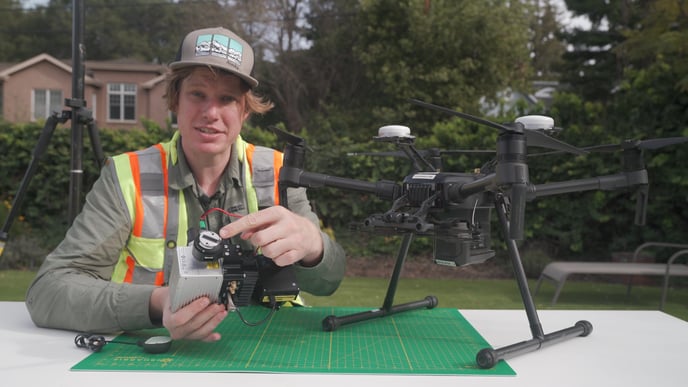
Lets go over the steps to fly the ROCK R2A LiDAR system on the DJI M210 drone.
The steps for flying on the DJI M210 is similar for every drone system. The main difference being how it mounts to the drone system.
Pre Planning
It’s important to do your homework before you head to the field so that nothing is forgotten in the process, and it starts with a plan! A few things to consider are:
- Mission Planning (varies by app)
- Terrain Considerations (hills, rivers, highways, towers, and powerlines)
- Vegetation Considerations (for Base station setup and an LZ)
- Access Considerations (can you drive or do you need other means of transport)
- Landing Zone (clear sky above and a landing pad are both helpful to have)
- Weather (nobody wants to get rained out)
- Time of Day (think about shadows in from your NADIR photos)
- Travel Considerations
Overview of Steps:
- Set up Base Station and start logging static observations at 1-second intervals
- Set up Drone and ROCK R2A
- Check Airspace and Plan Mission
- Turn on R2A and begin Collecting data (remotely)
- Fly Pre-mission Calibration
- Fly Mission
- End Mission and fly in the forward direction back to the home point
- Land and stop the R2A (remotely)
- Stop logging on the EMLID base
- Post Process using the ROCK desktop PCMaster and PCPainter
Now let's break down those steps, starting with an equipment list:
Equipment Used
- M200/210 V1 or V2
- Props
- Batteries (Charged)
- Remote (Charged)
- GPS Antenna setup for R2A Installed
- R2A LiDAR unit
- USB stick (formatted)
- Proper skyport mount installed on R2A
- Ground Station
- Reach RS2 (charged)
- Tripod (measured to exact mm point to base of RS2)
- +134mm for Base of RS2 to center of GPS
- iPad, iPhone, Android Tablet, Android Phone, Computer (whatever you are using for mission planning) (charged)
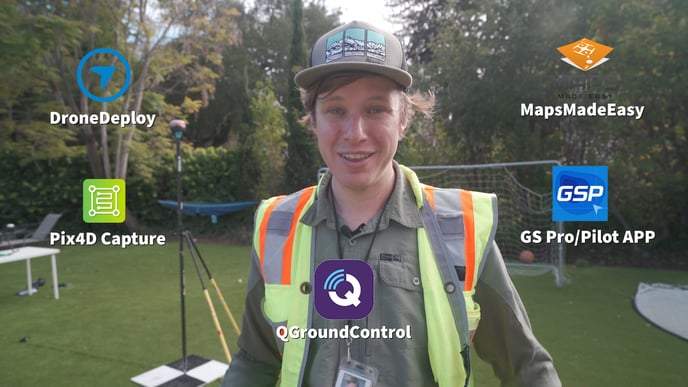
- Mission control App (pilots choice)
- Drone Deploy
- Pix4D Capture
- DJI GS
- Maps Made Easy
- QCGS
- Q Ground Control (PX4 based Flight Controller)
- Mission control App (pilots choice)
- PC for Post Processing (powerful GPU is helpful here)
Placing the Base:
A well-placed Reach base is essential for achieving good RTK positioning results.
You can place your smartphone near the window in your house and it will obtain GNSS coordinates after some time, but for the R2A LiDAR such environment won't be sufficient. For the R2A to work there are special requirements for placing the base.
Clear sky view without any obstacles
The base station needs to have a clear sky view 30 degrees above the horizon. There should be no obstacles that could block the view like buildings, trees, cars, humans, laptops, etc.
Take a look at 2 pictures below. The left picture demonstrates desirable conditions for the base location. The right one is an example of bad surrounding conditions such as the reduced view of the sky, possible obstructions or vegetation nearby.

Examples of good environments for base placement:
-
field
-
top of the hill
-
rooftop
Examples of bad environments for base placement:
-
indoors
-
urban area
-
forestry area
No electronics nearby
Electronic devices may produce RF noise that could affect the reception of the GNSS signal. Keep all electronics as far as possible from base and R2A.
Important information for post processing
Tripod height (measured to exact mm from ground point to base of RS2)
+134mm for Base of RS2 to center of GPS
Mark your ground control point (GCP) for later if you plan to come back so you can put it in the exact same spot.
Start Logging Data to your Base Station

Turn on the REACH base and then log into the WiFi
Login: reach:xx:xx
Password: emlidreach
Start Logging Rinex 3.03 data (needs to be in position for 2.5 hours minimum and running during flight operations).
Installing the ROCK R2A:
Connecting the R2A to the Drone:
The ROCK R2A comes with the Skyport mounting for the DJI M200, DJI M210, DJI M300 drone systems or a toad-n-hole / dovetail mount for any other drone system.
Above is the skyport connection for the DJI drone. The installation requires you to install and twist to lock the connection.

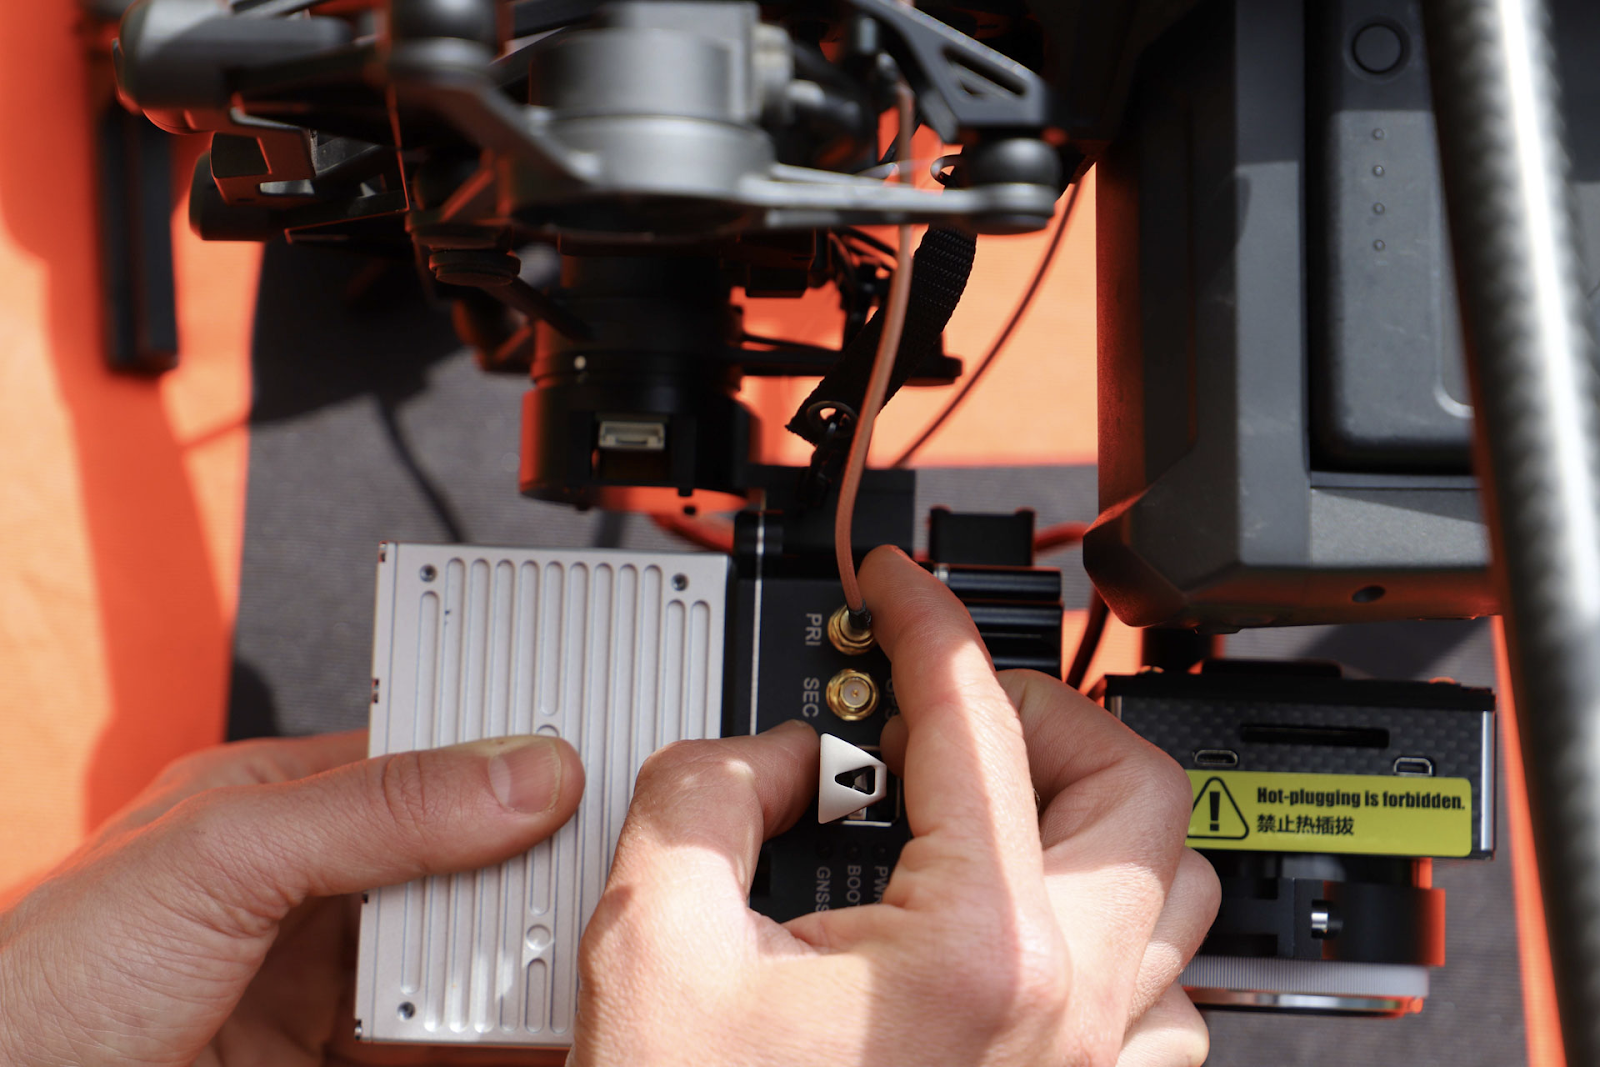
Install the USB Storage Device:
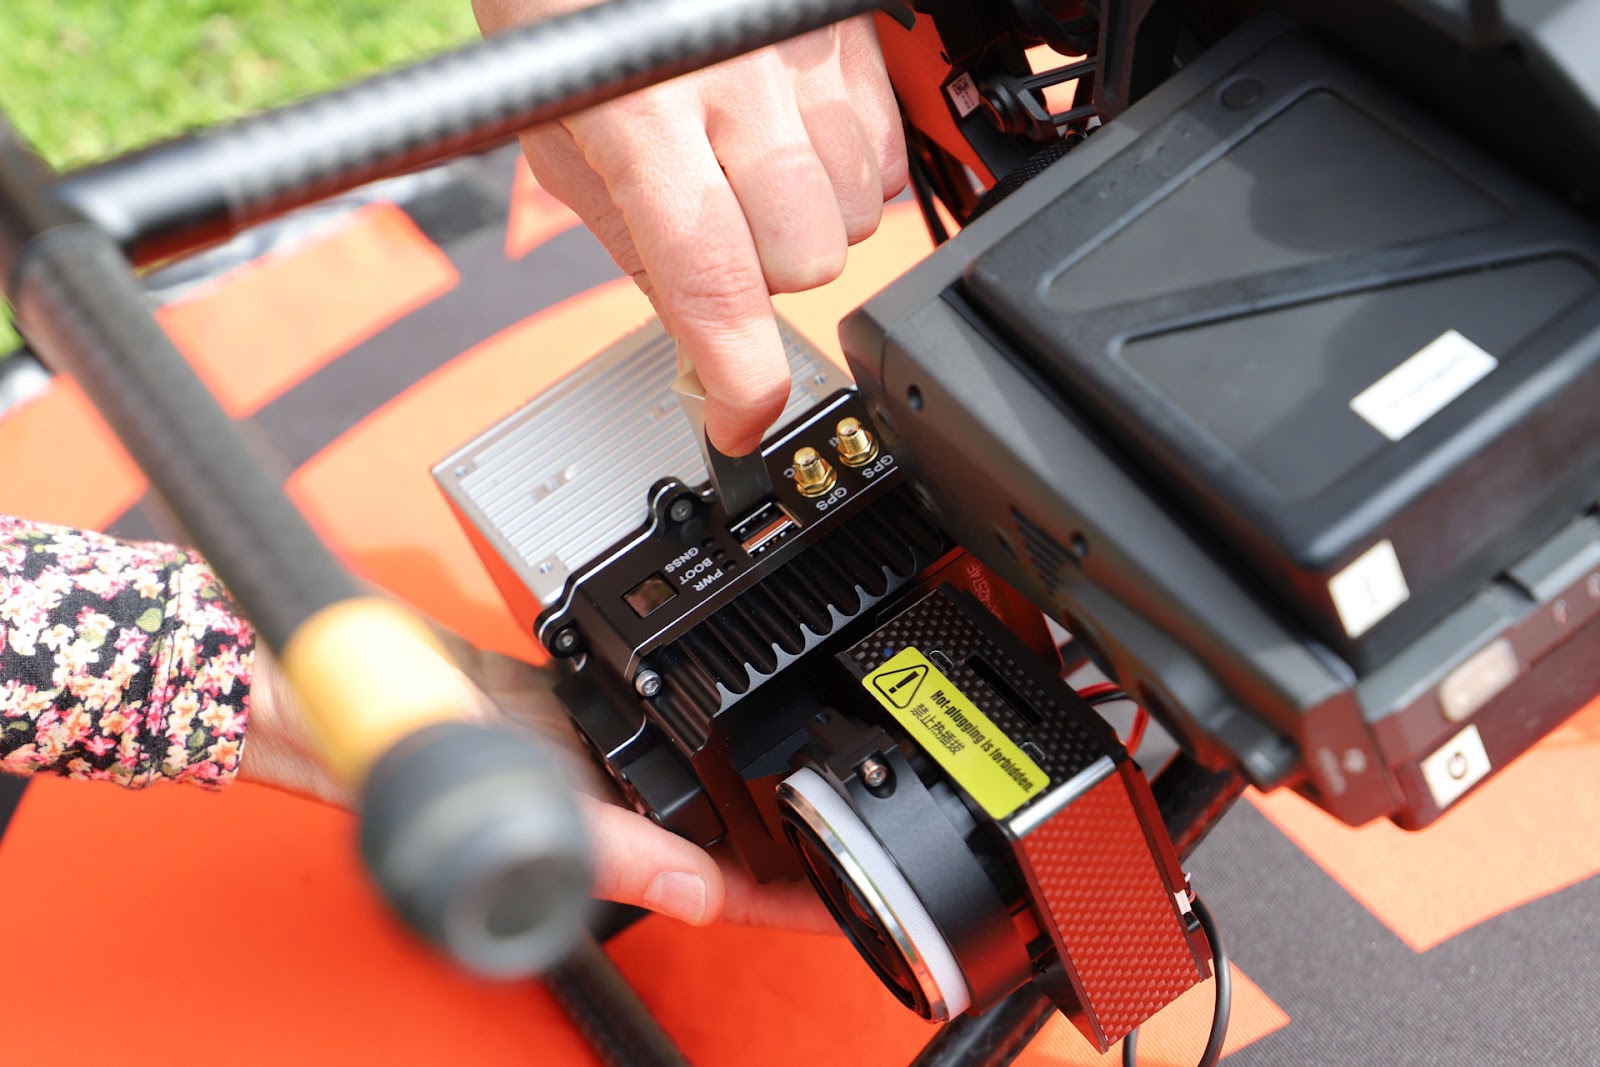
Installing the GPS Antenna:
The second component on the R2A is a GNSS antenna. The R2A comes with a GPS antenna mast for quick attachment to the drone system. The simplest solution is to utilize the M210 RTK antenna mast and swap out the original GPS antenna with the R2A antenna. Note (only do this if you are not using RTK to fly the M210 otherwise you’ll need a different solution)

You will notice in the video that I did not use the GPS antenna mount. This is because I simply misplaced it and wanted to keep recording the video :P But thats ok, I was able to simply double stick take the GPS onto the drone. This is not ideal, but acceptable practice for the R2A. I just used some double stick tape and placed it on top of an UNUSED antenna on the drone. I repeat: THAT ANTENNA ON THE DRONE WAS UNPLUGGED --- NEVER COVER AN ACTIVE ANTENNA WITH ANYTHING! Thanks for reading that ;)
After you have mounted the antenna, plug the antenna into the primary port on the R2A.
Check Airspace
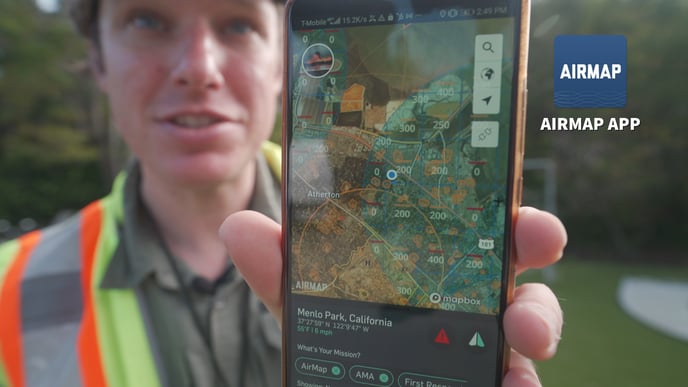
There are many ways to check the local airspace. In the USA, AIRMAP provides a free tool to check for local airspace requirements. Make sure you comply and follow all local rules and regulations
Mission Plan
Mission planning is covered in another article. For this flight I used maps made easy and generated a flight plan
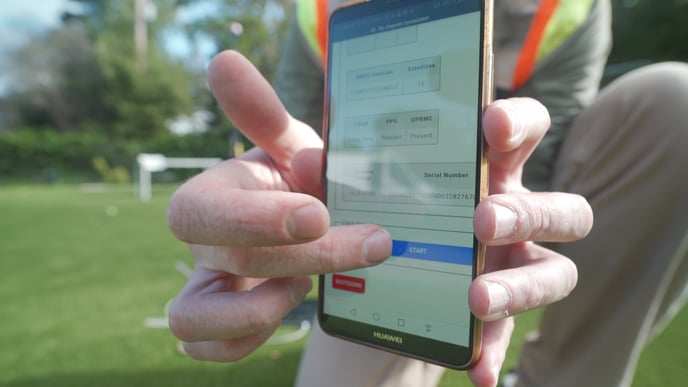
Start Collecting LiDAR Data on the R2A
First start the R2A by pressing the power button on the side of the device.

Next log into the ROCK wifi
WiFi: ROCK######
Password: rocklidar
Next use your web browser to navigate to the ROCK LiDAR
website address: 192.168.12.1
Now you can verify the number of satellites.
Make sure you have 8 or greater.
Then Start your data collection.
Now that you have pressed start. The status will say:
- static alignment
Do not move the drone or LiDAR now. This will take about 5 seconds
- Waiting for High Velocity
Take Flight and Calibrate

Now that the LiDAR is on and waiting for high velocity.
- Take off and fly a straight line for a count of 5 seconds.
- Fly 2 figure 8s.
- After this is complete you can begin flying your mission plan.
Note: the 5 seconds of straight flight is more than enough to calibrate the IMU. And typically the INS will converge on a single figure 8. We ask you to do 2 to ensure complete calibration
Hot Swap Batteries
Hold one battery in place while you press the release button, and then do the opposite to the other battery.
Make sure that if you do this you do not let the aircraft power down or you’ll have to use the “What to do if I didn’t shut down my LiDAR properly” How To to fix your files in post.
End Flight
Land manually once your mission has ended and leave the whole system alone for 15-60 seconds to gather some static data. At this point you can use the web interface to power down the R2A prior to shutting down the aircraft and getting packed up.
Retrieve Data for Processing
All of the LiDAR, IMU, and GPS data is written to the usb stick which is attached to the R2A. When the unit is powered off from the web interface you can detach the usb and insert into your PC to begin your processing.
Stop the base station logging so long as it has been running for over 2.5 hours. Once the Rinex file is compiled share it to yourself so you can access it during post processing.