If you encounter any problems completing these steps during your bench test, please email support@rockrobotic.com and note the steps taken and the results you obtained so that we may assist you to identify the issue.
Step 1 - Find a location to run the bench test that is visible to satellites, so the unit can communicate effectively (i.e. - next to window or outdoors), and a power source (to provide power to the unit)
.jpg?width=480&height=640&name=image_123927839(3).jpg)
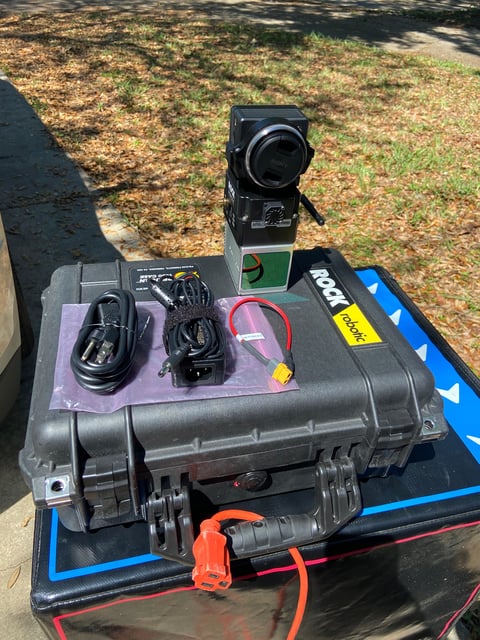
Step 2 - Remove the LiDAR unit and connect the power cables from case (power brick, power cord, and XT60 adapter). Connect the plug from these into power source/outlet.
.jpg?width=480&height=640&name=image_123927839(1).jpg)
Step 3 - Insert the USB and remove the lens cover from the camera
.jpg?width=480&height=640&name=image_123927839(4).jpg)
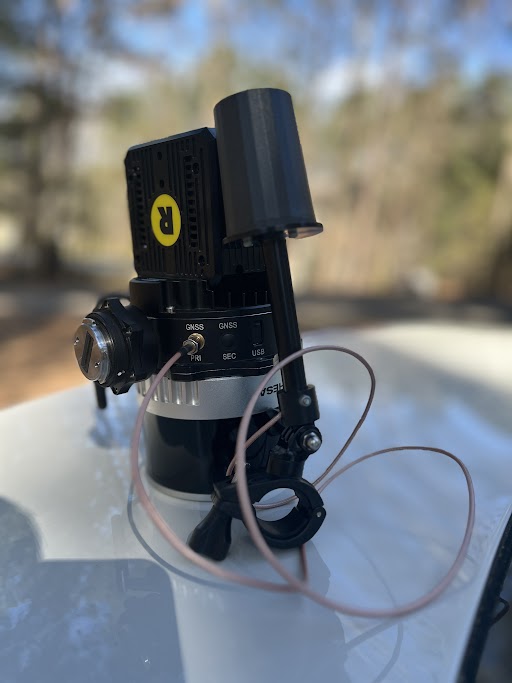
Step 4 - Plug power cord in to the skyport adapter of your LiDAR unit as shown below and plug in the GNSS Antenna
.jpg?width=480&height=640&name=image_123927839(2).jpg)
Step 5 - Power up the LiDAR unit by pressing the power button 1- time. Wait for the unit to audibly spool up and the camera to initialize (2 audible shutter clicks)
Step 6 - Connect to LiDAR unit's wifi and access the web GUI menu per normal operations
.jpg?width=480&height=1039&name=image_123986672(2).jpg)
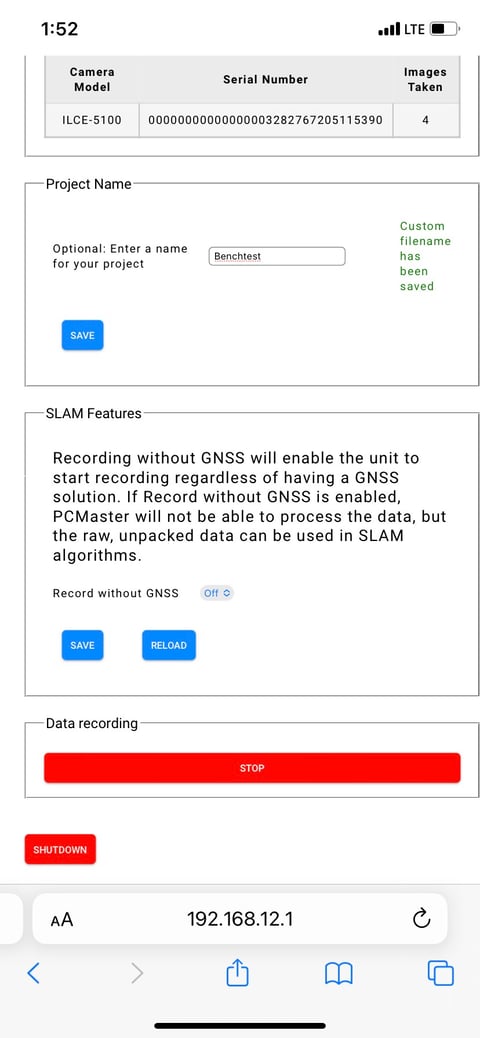
Step 7 - Format your USB, ensure your firmware is up to date, name your project "benchtest", and press "start" to begin scanning
.jpg?width=480&height=1039&name=image_123986672(1).jpg)
Step 8 - Run your bench test scan for at least 1 minute and then press "stop" and "shutdown"
Step 9 - Remove the USB and begin pre-processing your data. After pre-processing, upload to the ROCK Cloud to QA/QC your data.
Reach out to support@rockrobotic if you have any questions or note irregular performance of your LiDAR unit. Let's ROCK!!