Creating a New Project
1. Project Setup
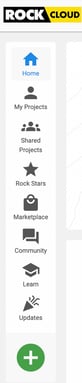
- Select the green "+" button on the left side toolbar.
Or Click "START YOUR PROJECT"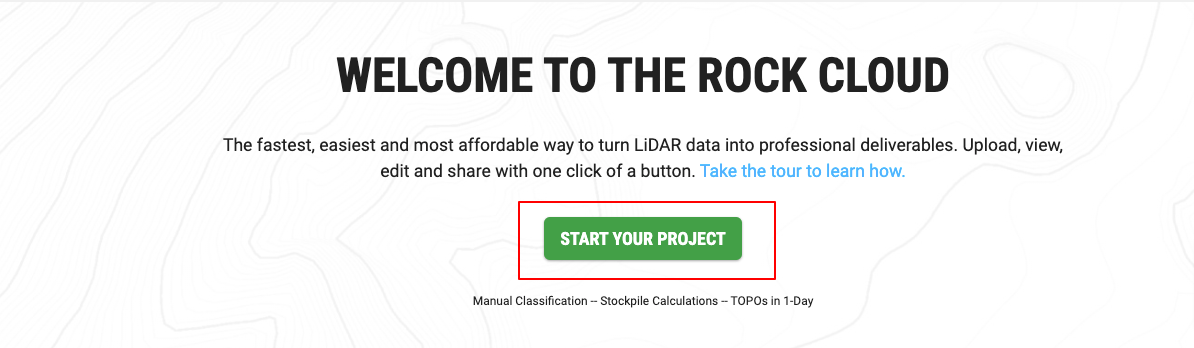
- Move the Map Marker to your Project Location. You can use the search bar on top to find the relative address and move the bullseye around to center your project location.
- Click "CREATE PROJECT" near the center of the screen.
- Fill out the Project Name and Description, click "CONTINUE".
In your description, it is helpful to note the type of drone used, the flight settings, and any other important mission information.
2. Defining your Coordinate Reference System (CRS)
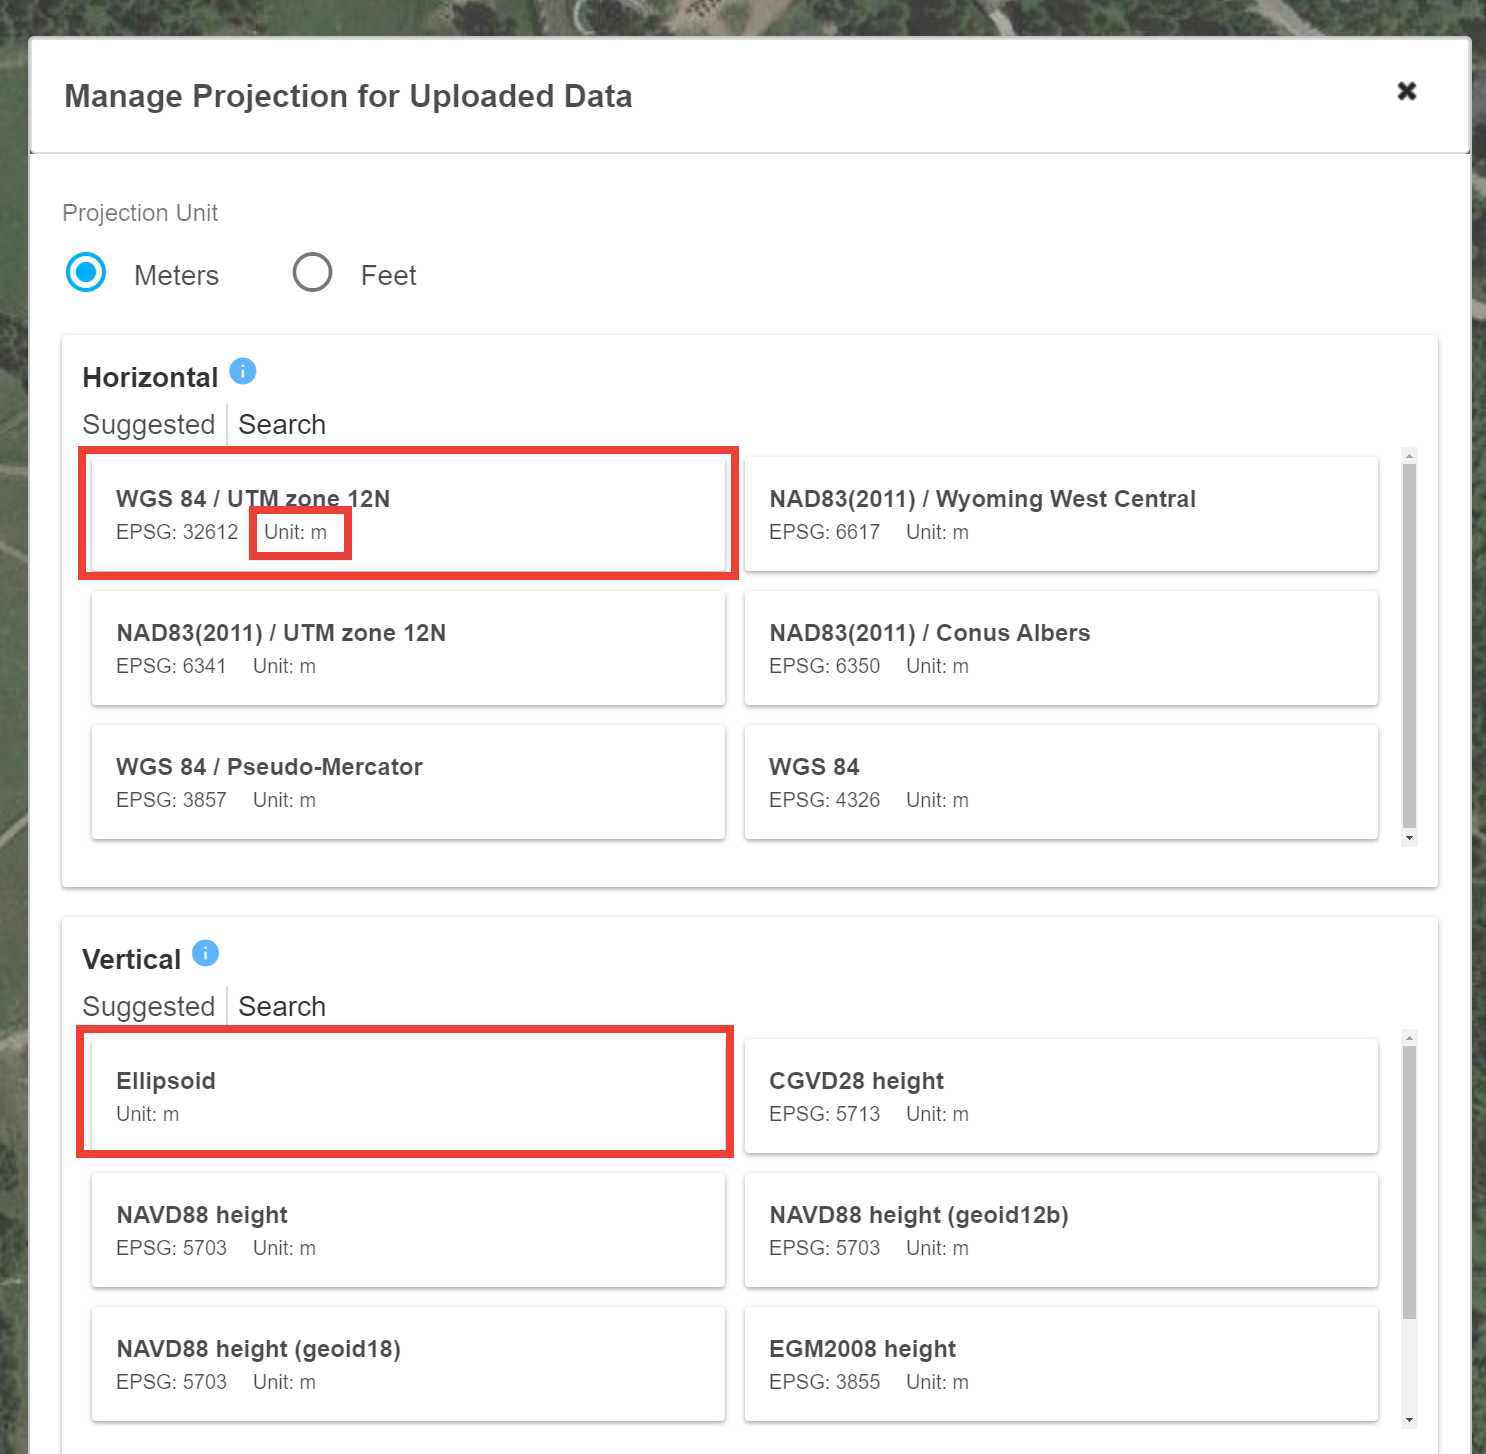
- Once your Project is created Click "Manage Project" and then "Define CRS" in the left panel.
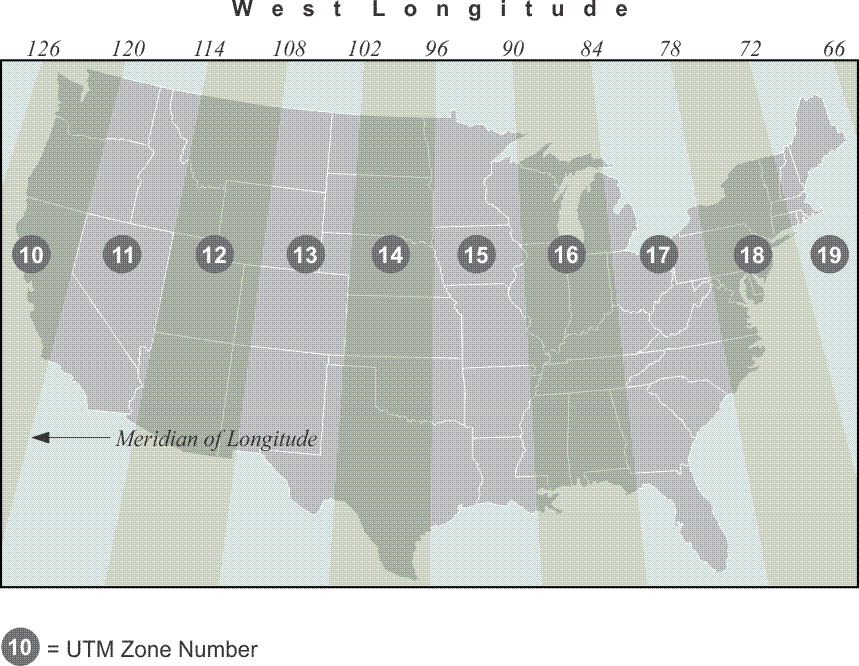
For customers using an R2A, your CRS from PCMaster will be in WGS 84 and the UTM zone for your area. The vertical projection will be ellipsoidal height in meters.
For other LiDAR systems, be sure to check your export settings in your pre-processing software for the correct coordinate system. L1 users reference this article.
Check out this UTM zone map of the United States
- For Northern California, we are in WGS84 / UTM Zone 10, Ellipsoid height (m)
- Use the suggestions to select the proper horizontal and vertical projections
3. Reprojecting Your Data
- If you need to reproject your data into a different datum, use the "Reproject" tab. See this article for more information.
3. Adding Project Data
- Use the "Add Project Data" in the left toolbar to upload your point cloud data (The ROCK Cloud CANNOT open zip folders so please upload bare files like LAS, LAZ, JPEG, E57, geotiff, .pts, .ply etc. AND then click "SAVE".
- Learn more about what files you can upload to your ROCK Cloud Projects here
- We do recommend zipping your point cloud to an LAZ prior to uploading to your project for faster upload and less storage requirements. Learn how to zip your .LAS in ROCK Desktop HERE.
4. Adding Ground Control Points (GCPs)
- Add GCPs to make sure your point cloud is accurate. See this article for more information.
Once you have followed the steps above, your visualizer will update. When it is done, you will be prompted to "Refresh" and should see the "3D" Lidar button appear at the top of your visualizer and that lets you know you are ready to click on it to visualize your LiDAR Data!

5. Order Deliverables
- Now you are ready to order your deliverables by clicking the green "PROCESS" button in the left lower pane of your project page and making your selections
- For more information on types of Deliverables ROCK offers, see:
- And for even more options, see the ROCK Marketplace
Use the navigation menu below to continue the tutorial.
|
ROCK Cloud Tutorial |
ROCK Cloud Tutorial |